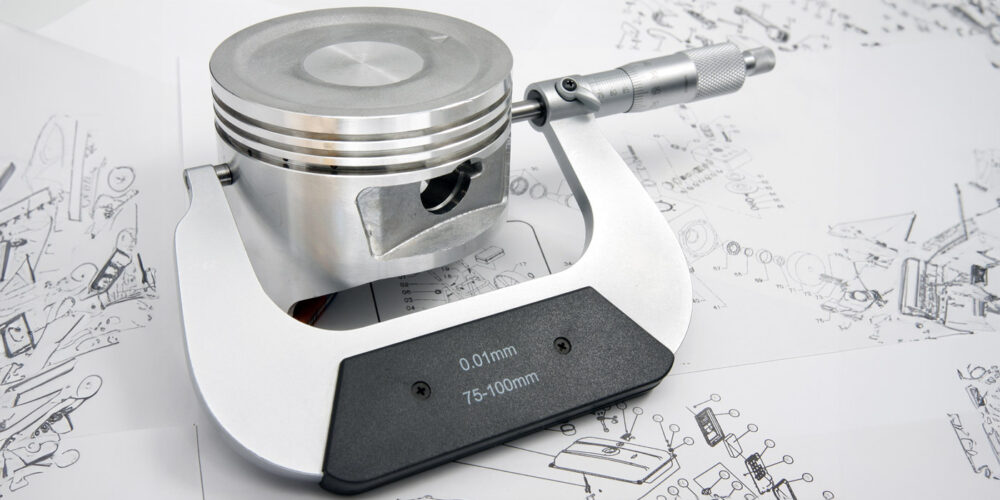
As auto technicians, the need for precise dimensional measurements is far less frequent than it used to be. Measuring brake rotors used to be a daily practice; now it’s almost completely forgotten. Occasionally, however, we still find ourselves needing the accuracy. It may be on an engine diagnosis or repair, or maybe it’s an expensive brake rotor that we’re hoping to resurface.
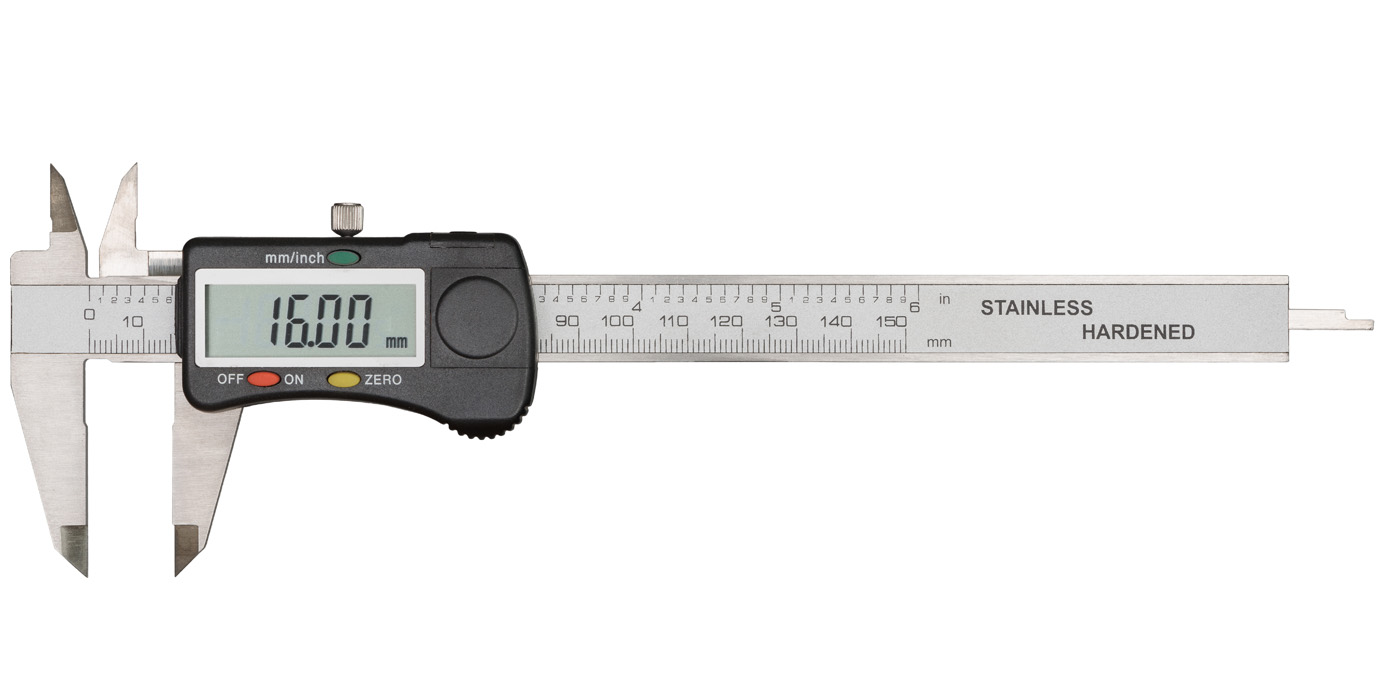
You reach into your toolbox to grab your digital caliper or micrometer. Many of us upgraded to digital many years back. After all, it’s a lot quicker, and when you’re getting older and your eyesight isn’t what it used to be, digital is a nice way to go. But if your luck is like mine, the battery is dead.
You still have your old ones, but you don’t have time to waste, and you’re thinking, “how do I read this thing again?” Need a refresher? Here’s a crash course.
Micrometers:
Micrometers are more precise than calipers, offering a much higher level of accuracy, a characteristic that is often reflected by a higher resolution. While some micrometers have a resolution of only .001” (one thousandth of an inch), or .01mm (one hundredth of a millimeter), a Vernier micrometer is accurate to .0001” (one ten-thousandth of an inch), or .001mm (one thousandth of a millimeter).
Vernier is a term you’ll hear often, and it’s the name given to the combination of two scales used to make precise measurements, invented by mathematician Pierre Vernier in 1631.
A drawback to micrometers is they only have a measurement range of one inch (25mm), meaning you need multiple different sizes. For example, common sizes are 0-1”, 1-2”, 0-25mm, 25-50mm and larger.
Reading a micrometer can seem daunting, but one of the easiest ways to think about it is as a series of steps, and when you’re getting used to reading one, it can be very helpful to write down the measurements one by one and add them all together at the end. Before you begin these steps, remember that each scale increases in resolution from lowest to highest, starting with the sleeve scale, the thimble then the Vernier.
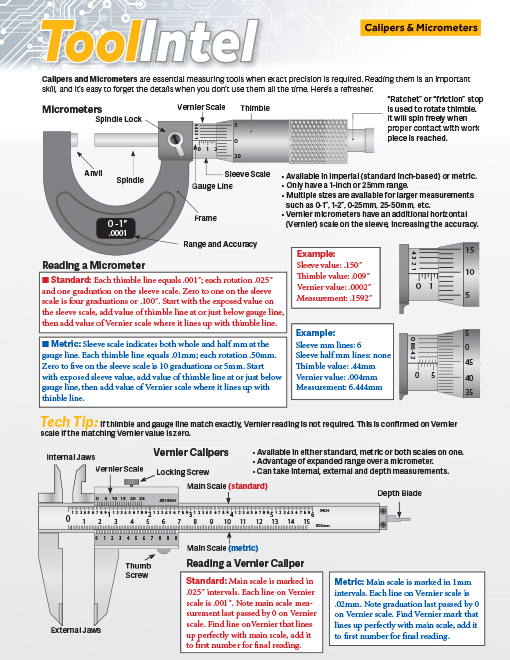
There’s a method to using them that is helpful too. Wrap your little finger around the frame (see chart above) and rest the frame into your palm, then use your thumb and index finger to turn the thimble. Rotate the thimble until the spindle and anvil contact the measurement piece. The ratchet or friction stop on the thimble will turn free when the proper amount of pressure is placed on the measurement piece.
Now record the measurements. The first one is last exposed vertical graduation on the gauge line. Next, follow the gauge line to the thimble. If a horizontal line on the thimble exactly matches the gauge line, the thimble reading is your second measurement and you’re done. If not, find the closest thimble line that is below the gauge line. This is your second measurement. Finally, find the line on the thimble that exactly matches up to a line on the Vernier scale. Use the number on the Vernier scale, not the thimble, and record this as your final measurement. Add all the readings for your final reading. Whether the micrometer is standard or metric doesn’t matter. The procedure is the same.
It is important to note that if the line on the thimble exactly matches the gauge line, this is your final reading. You can confirm this on a Vernier micrometer by looking at the Vernier scale. The value of the matching Vernier line will be zero.
Vernier Calipers:
Vernier calipers are not as precise as micrometers, but they have an advantage in that they are quicker to use, with a wider range, usually about six inches or 15 centimeters. You can also measure inside or outside dimensions, plus depth.
The theory of reading a caliper or micrometer is the same, so once you know one, the other is easy to adapt. When reading a caliper, first find the measurement on the main scale that was just passed by the zero on the Vernier scale. Next, find the graduation on the Vernier scale that lines up perfectly with a mark on the main scale. Add this value to the first and this is your final reading.
Do this a few times, and you’ll be used to it again. Now, it’s off to the store to get a new battery for your digital. Once you make sure it works again, rest assured, it just might be dead again the next time you need it!