CC:
When ordering a set of complete struts for the F-150, make sure to identify trim levels and if it’s a crew, extra or regular cab. Also, make a note if it’s four wheel or two wheel drive.
First, lift the truck and remove the front wheels.
To prevent damage to the wheel speed sensor and harness, remove the sensor from the knuckle and disconnect the electrical connector behind the fender liner. The harness, brake hose and vacuum line for the hub are attached to the knuckle with a bracket that is secured with a bolt.
Remove the brake caliper at the bracket. Secure the caliper to the frame with a hook or wire. Then, remove the brake rotor.
Remove the dust cap to access the nut that secures the axle to the hub. Remove the nut.
Unfasten the three bolts that secure the integrated wheel end unit, or IWE, to the knuckle.
Remove the nut that secures the outer tie rod to the steering arm. Take care not to damage the boot when pushing the stud out of the knuckle.
You can secure the knuckle with a strap to prevent the knuckle from dropping and possibly damaging the vacuum seal in the IWE.
Remove the three nuts on the top of the strut.
Unfasten the nut that holds the sway bar link to the sway bar. This will allow you to pull down the lower control arm to remove the strut.
Remove the two nuts that holds the shock to the lower control arm.
Swing the knuckle down to access and remove the old strut unit. Place a rag over the IWE to prevent debris from entering the unit.
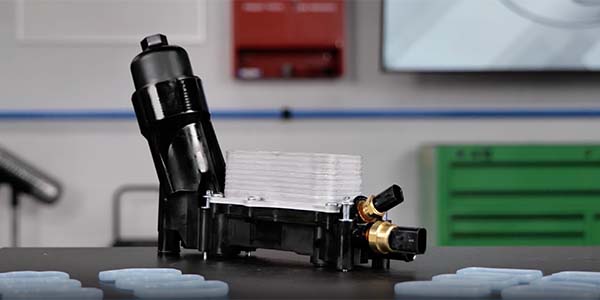
The PRT replacement is a complete strut assembly. The coil spring uses high-quality carbon steel that matches the OE unit for the application and options.
The strut unit has a precision piston rod that is chromed to ensure proper seal lubrication and resistance to impacts and corrosion, and the valving inside matches the original unit.
The unit also includes new bellows and bump stops along with a new upper strut mount and installation hardware.
To install the new PRT complete strut unit, pull down on the lower control arm and maneuver it into place.
Install the upper nuts for the strut.
Insert the bolts and nuts that hold the strut to the lower control arm.
Attach the sway bar to the link. Tighten to 62 foot pounds.
Swing the knuckle back into position. Gently push the axle into IWE and flange. Torque the nut to 46 foot pounds.
Install the three IWE bolts. Tighten to 106 inch pounds.
Install the axle nut. Torque to 30 foot pounds and install the dust cover.
Tighten the upper strut mount bolts to 52 foot pounds.
Tighten the lower strut nuts to 66 foot pounds.
Install the outer tie rod and torque the nut to 76 foot pounds.
Attach the bracket that holds the brake hose and harness.
Install the brake rotor.
Install the brake caliper. Tighten the caliper bracket bolts to 180 foot pounds.
Install the vacuum hose onto the IWE and wheel speed sensor and harness.
Install wheel. Tighten the lug nuts to 130 foot pounds.
PRT, or Performance Ride Technology, shares its heritage with one of the largest manufacturers of shocks, struts and complete strut assemblies in the world.
PRT products are produced and tested under the strictest OE quality processes required by leading automakers in five modern and fully-automated plants using the latest technology available.
With nearly 30 years of expertise and ride control and suspension product manufacturing, conducting business in more than 135 countries worldwide with a strong presence in OE and OES developments, PRT is a leading presence in the global aftermarket business.
Quality, complete coverage, advanced features and built-in profit potential for customers are synonymous with PRT.
Performance Ride Technology is in our DNA.
This video is sponsored by PRT.